Step-by-Step Guide to Compressing Images for Websites and Blogs
Images play a vital role in enhancing the visual appeal of websites and blogs, but oversized image files can slow down your site’s loading time, impacting user experience and search engine rankings. This detailed guide will show you how to compress images effectively without sacrificing quality, ensuring your website performs at its best.
Why Compress Images for Websites?
Compressing images reduces file sizes, which leads to faster loading times, improved SEO, and better overall user experience. Compressed images use less bandwidth and are especially beneficial for mobile users. Additionally, they help websites adhere to Core Web Vitals—Google’s performance metrics for ranking pages.
If you want a simple way to compress your visuals, consider using an Image Compressor, a user-friendly tool that guarantees efficient optimization.
How to Compress Images: A Step-by-Step Guide
Follow these steps to compress images for websites and blogs effectively:
Choose the Right Image Format
Before compressing, ensure your images are in the correct format:
- JPEG: Best for photos with many colors.
- PNG: Ideal for transparent or high-detail graphics.
- WebP: A modern format offering high compression with minimal quality loss.
Resize Images Appropriately
Large dimensions increase file size. Resize images to fit your website’s layout:
- Blog post images: 1200px wide.
- Website banners: 1920px wide.
Tools like Photoshop or online editors can help you adjust dimensions.
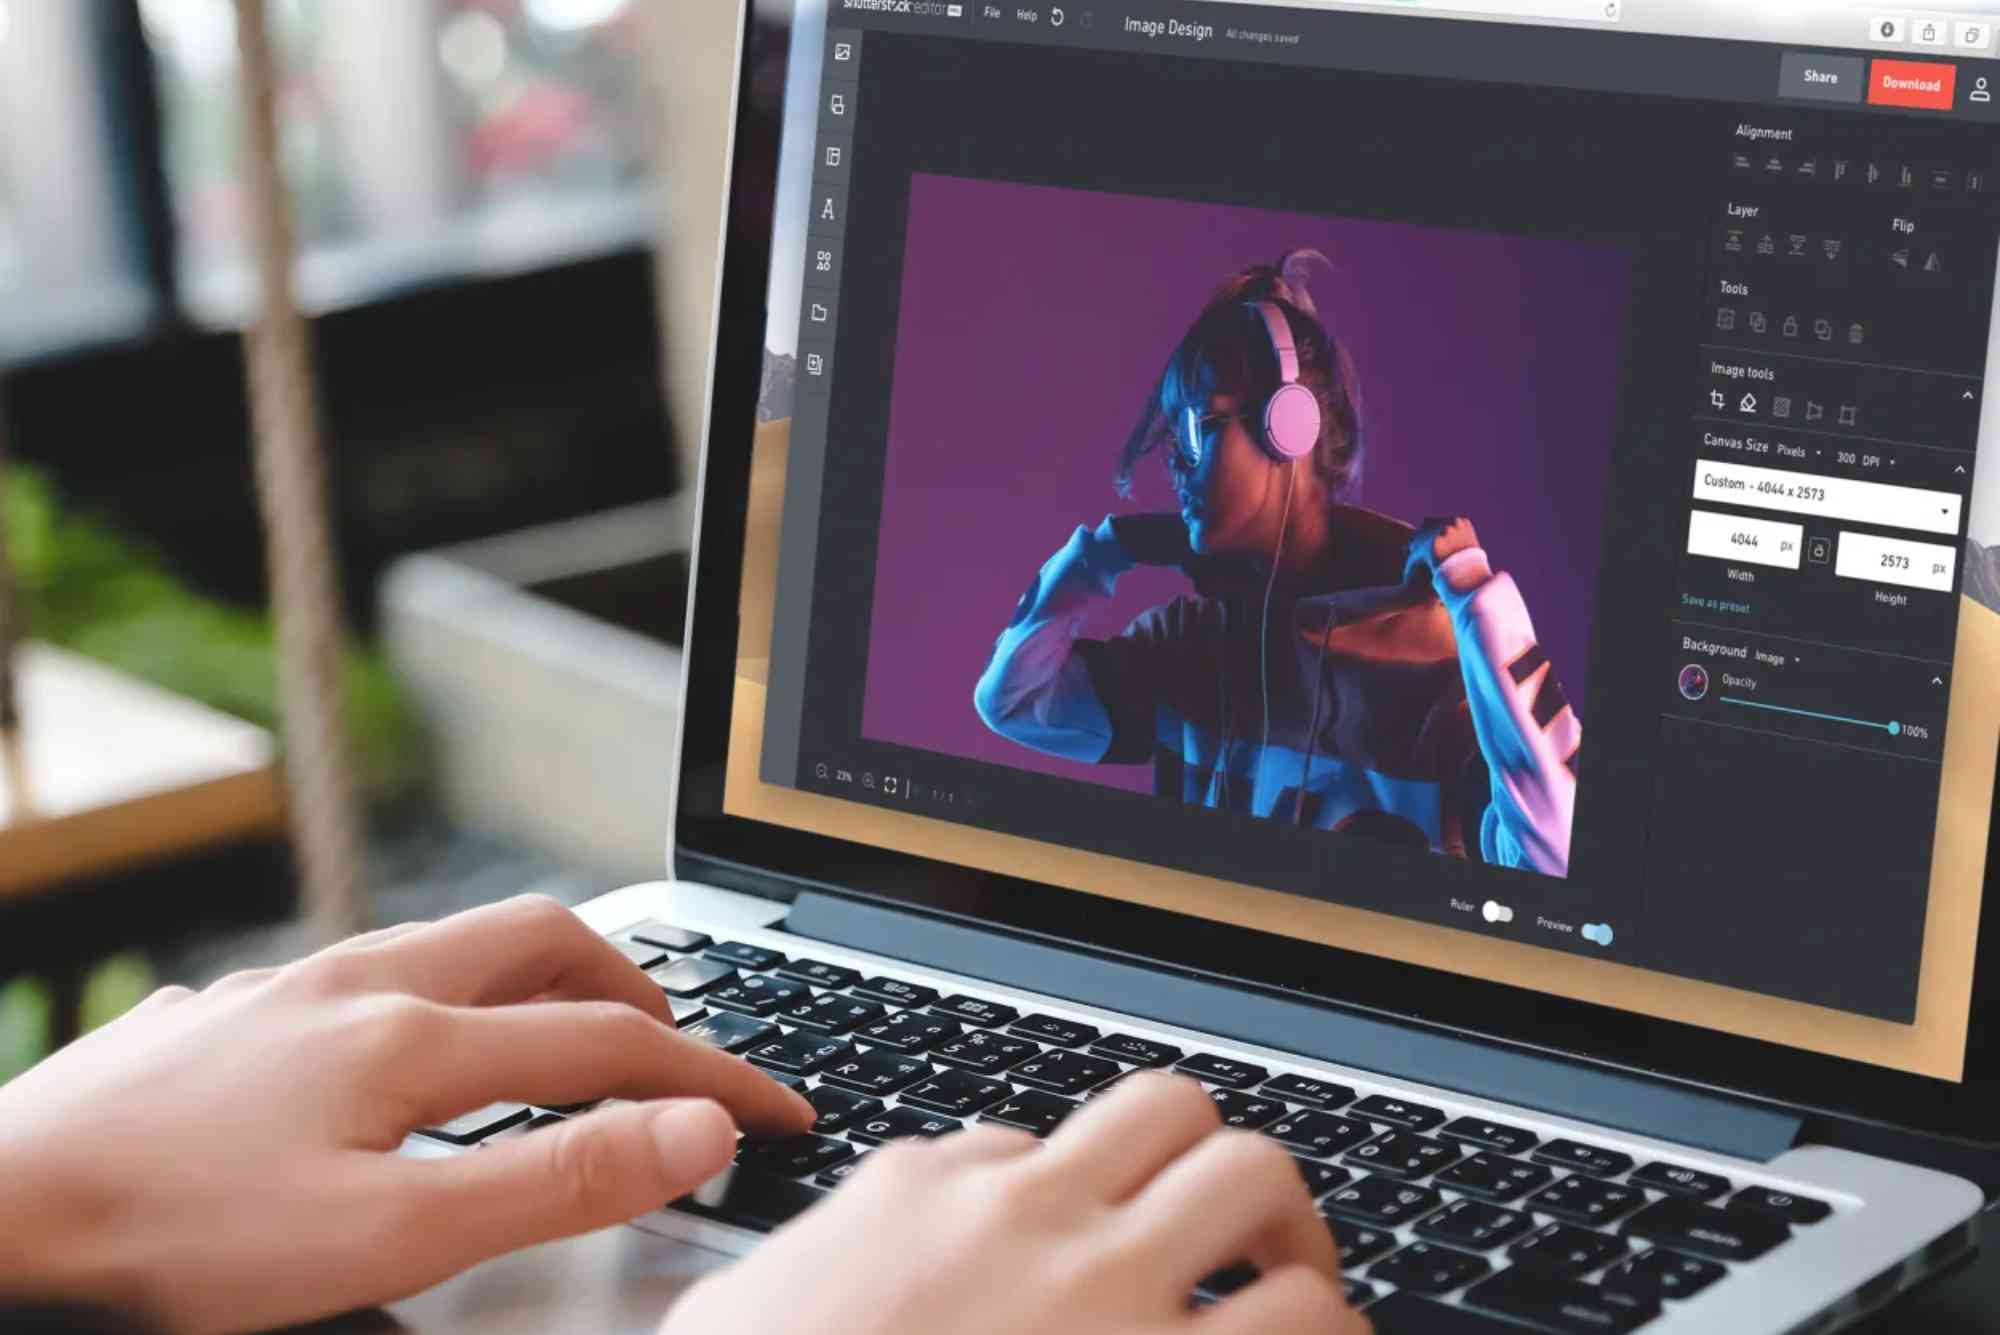
Use an Image Compressor Tool
Upload your images to an efficient compressor like the Image Compressor. This tool:
- Supports multiple formats.
- Reduces file sizes significantly without quality loss.
Adjust Compression Settings
Most tools let you set compression levels. Aim for:
- 50-70% compression: Retains quality for websites.
- High compression: Ideal for thumbnails or icons.
Test Your Optimized Images
Before uploading, preview the images to ensure quality isn’t compromised. Compare the original and compressed files to see the difference.
Upload to Your Website
Finally, upload the optimized images to your website or blog. Use descriptive alt text for better SEO and accessibility.
Benefits of Image Compression
Compressed images offer multiple benefits, such as:
Faster Page Load Speeds: Reduced file sizes mean quicker loading.
Improved SEO Rankings: Faster sites rank higher on search engines.
Lower Bandwidth Usage: Saves costs, especially for high-traffic sites.
Enhanced User Experience: Visitors enjoy smooth, lag-free browsing.
To learn more about enhancing your website, explore Digital Ranker Dubai for professional guidance.
FAQs About Image Compression
1. What is the best image format for blogs?
JPEG is ideal for photos, while PNG is best for graphics and transparent backgrounds. For modern optimization, use WebP.
2. How much should I compress an image?
Compression levels between 50% and 70% maintain quality while reducing file size.
3. Can I batch-compress multiple images?
Yes, tools like Image Compressor allow batch processing to save time.
4. Does compressing images affect SEO?
Yes, compressed images improve page speed, a key factor in SEO rankings.
5. Where is Digital Ranker Dubai located?
Find them here: Digital Ranker Dubai Location.
Optimizing images is crucial for a fast and visually appealing website. By following this step-by-step guide, you can compress images effectively while retaining their quality. Whether you’re a beginner or an expert, tools like the Image Compressor simplify the process. For more insights and professional tips, visit Digital Ranker Dubai.